Share:

.svg)
.svg)
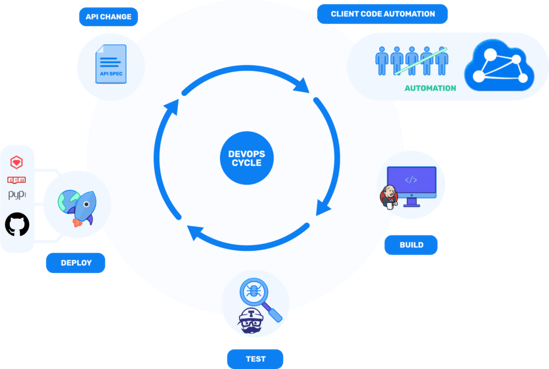
APIs act as a bridge to multiple tiers in distributed software systems. However, reflecting the changes of fast-evolving APIs among these connected tiers is a huge drain in productivity, and increases the time to market. This means that your software tiers must always remain in sync, and in an ideal world also minimize the redundancy of generating documentation and SDKs on each update.
The APIMatic CLI ensures that your developer experience checklist is in check at all times by automating the redundant, time and resource-consuming tasks of API validation, documentation, and SDK maintenance. The APIMatic CLI offers feature parity by providing automation in the form of:
- API Validator
- API Transformer
- SDK Generator
- API Portal Generator
For a quick walkthrough of the newly introduced CLI, we’ll be using the Uber API specification.
Installing the APIMatic CLI
Installing the CLI is quick and painless. You only need Node.JS and npm as a pre-requisite to execute the following command, and you’re good to go:
npm install -g @apimatic/cliValidating the API for Unforeseen Errors
Validating the API definition against robust internal checks ensures you have a smooth experience using APIMatic’s services. Fixing these validation issues before proceeding to generate portals or SDKs helps save debugging time. The validation output is categorized into three categories defined below:
- Errors: Any syntax/semantic issues found in the API definition.
- Warnings: Any unexpected behavior that may affect the output.
- Info: Recommendations or suggestions that can help enhance your API definition and its completeness.
To validate your API definition, run the apimatic api:validate command by providing the path to the file:

The API definition validated here does not seem to have any critical errors and warnings that need fixing, so we can move forward to either generate SDKs and API Portals or transform the API specification into another format.
Generating SDKs to Speak in the Language of Developers
Once the API is validated, you can proceed to generate multi-language SDKs from the API definition, directly via the command line. The apimatic sdk:generate command generates an SDK in a specified language and downloads it to the specified destination folder.
For example, I generated a Python SDK from the Uber API using the APIMatic CLI:

Now check the destination folder, where the SDK has been downloaded in .zip form. Extracting the .zip file shows the complete SDK files, including a comprehensive README to use the SDK:
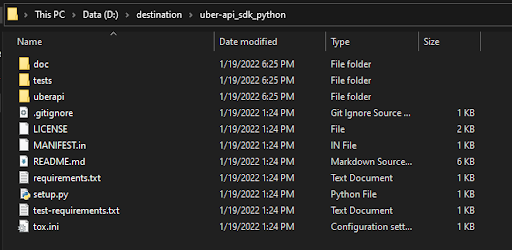
You can use your favorite IDE to start building applications using the Uber API SDK straightaway. To read more about APIMatic SDKs, please refer to the APIMatic SDK documentation.
Generating API Portal for Higher Adoption
APIMatic embraces the ‘documentation as code’ philosophy, allowing you to specify all aspects of the API documentation as code. The API Portal bundles API documentation, SDKs, and code samples into a static website. Just like with all products of APIMatic, the API Portal can be generated right from the terminal as well, letting the entire process be made part of the release pipeline.
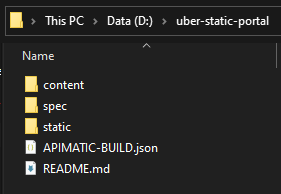
In order to generate an API Portal, the CLI expects inputs to be provided in a specific format:
- A content directory containing Markdown guides.
- A spec directory containing API specifications.
- A static directory containing images or any other static content referenced in the documentation.
- A configuration file called APIMATIC-BUILD.json.
Place all the artifacts in a directory, including the Uber API under the spec directory:
The apimatic portal:generate command takes the contents of this directory to convert it into a static portal’s components.

The static website can now be hosted on a hosting service of your choice, let’s say by creating a website on Netlify, and the Uber API portal is live:
Transforming the API into Multiple API Formats
You can also automatically transform your API into more than 10 popular API specification formats including OpenAPI, RAML, API Blueprint, WSDL, Postman, and more. Many APIMatic users integrate automated transformations into their CI/CD pipelines via the Transformer API, which helps them take away the pain of having to manually rewrite the APIs. The same process can be replicated with a script that executes the CLI command for Transformer as well.
The following example shows how the apimatic api:transform command converts the Uber API (in OpenAPI 3.0 format) to RAML, and saves it to a specific directory: